A holder that allows you to securely secure The Handy to a camera stand,
 tripod, etc.

For U1/4 inch screws.
List of included items
Hold base ×1
Handy mounting ring x 2

Installation rod long x 2
Short x 2
M3 screw 12mm x 4 (for fixing the mounting rod to the hold base.
Attached to the hold base)

M3 screw 10mm x 4 (for fixing to the Handy mounting ring.
Attached to the ring)

Anti-wobble support parts x 1
sponge tape
*In principle, all bolts used in our products are
equipped with hexagonal wrench holes.
For assembly, please prepare a hex wrench set
(a cheap one will suffice), radio pliers, etc.
①Insert the mounting rings on both sides of The Handy.
Align the screw position with the line on the side of the main unit.
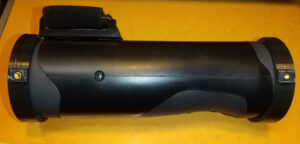
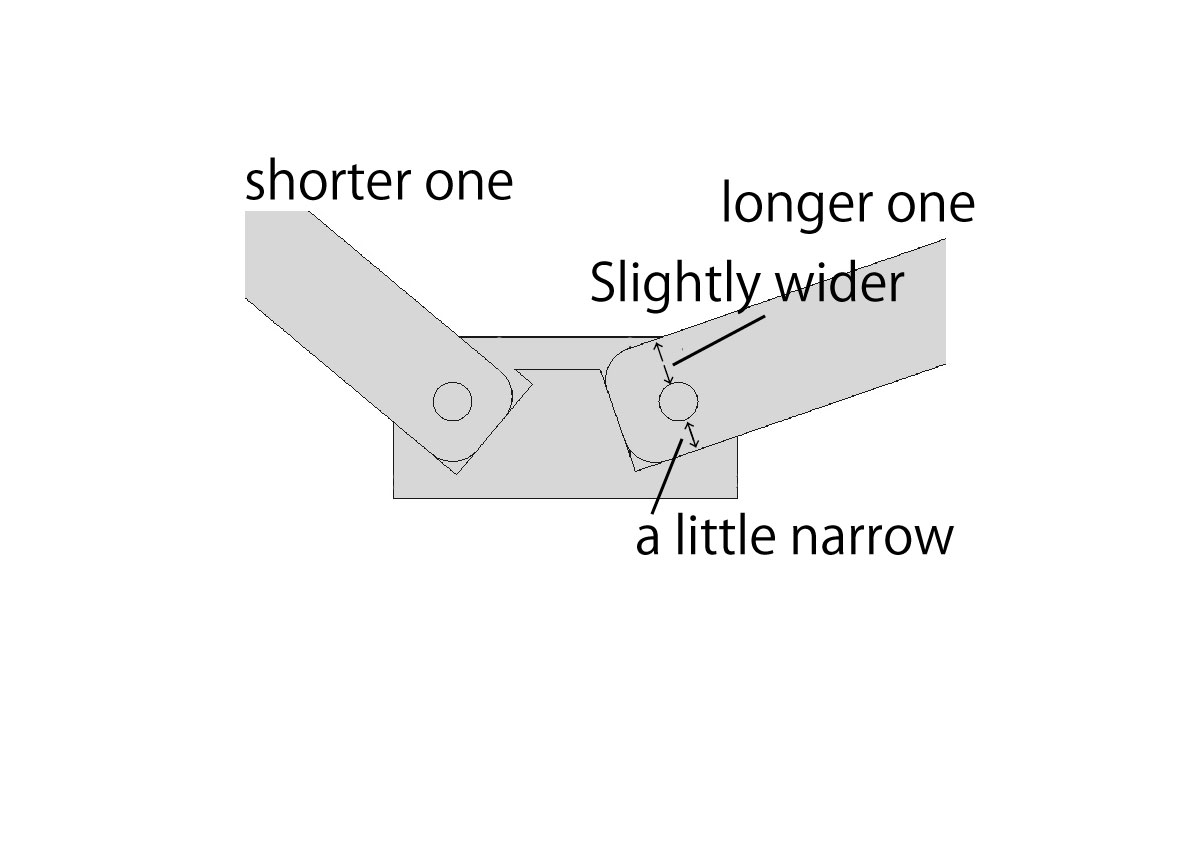
②Temporarily fasten the long and short length of the mounting rod
 to the hold base using 12mm screws.

Note: Each screw hole has a slightly different position.
Please install
it in the direction that perfectly fits the hold base.
In addition, since the sizes of each part are printed exactly,
if they do not fit properly, you can make them fit smoothly
by filing the base side a little with a thin file,
stick file, sandpaper, or needle-nose pliers.
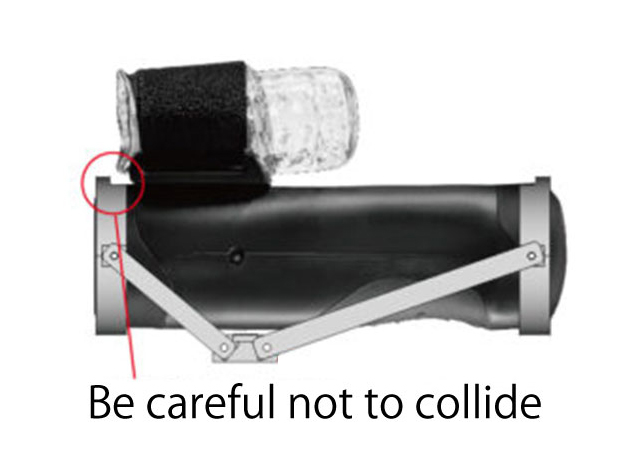
③ Fix ① and ② with M3 x 10mm screws and tighten all screws and nuts tightly.
When screwing into the Handy mounting ring, be careful not to screw the screw at an angle.

④ Shake suppression support parts
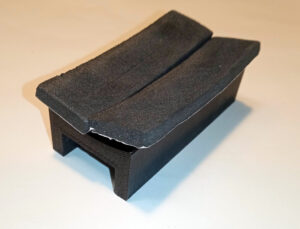
Apply sponge tape to the curved part of the support part
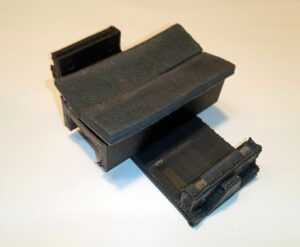
Insert into the holder (you can also insert it into the assembled holder later)
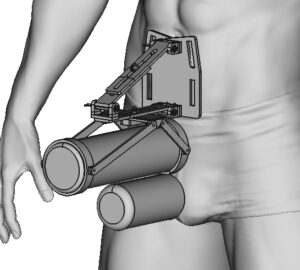
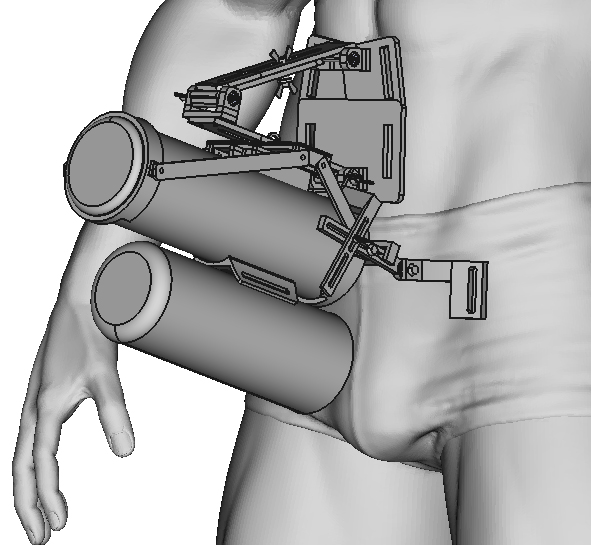
別売の「The Handy用ハンズフリー・ボディマウント」を接続すると、身体に安定して固定することができます。
さらに「ハンズフリー・ボディマウント用 超エレクト対応 変換アダプタ」を使用すると超エレクトの方はもちろん、通常角度の方もがっちり安定感ある運用が可能となります。
マニュアル共通事項をご覧ください。

Comments